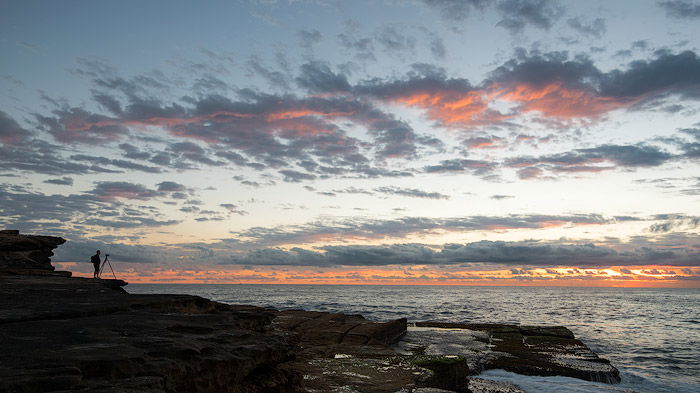
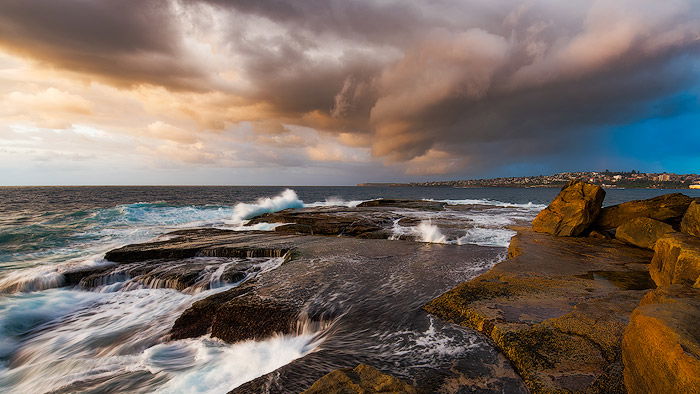
These are the times you should remember the joy of adventure and how rewarding sunrise photography actually is. Read on to learn how to take sunrise photos that are worth waking up for. [ExpertPhotography is supported by readers. Product links on ExpertPhotography are referral links. If you use one of these and buy something, we make a little bit of money. Need more info? See how it all works here.]
The Benefits of Sunrise Photography: Why Go Shooting at Sunrise?
A lot of people ask me “why sunrise, can’t I just do a sunset instead?” Of course, you can, but there is one massive difference between the two. And it’s an unbeatable argument in favour of sunrise for me. When you photograph in the evening, there are lots of people around. They keep walking into the frame and distract you in so many ways. During the sunrise, you get alone time with nature. You can focus on your thoughts and feelings and express yourself better. Also, the golden hour stays longer than the blue hour.
Getting Ready For Sunrise Photography
So, you have decided to do sunrise, and it’s time to prepare. I recommend getting ready the night before. This way, you’ll get an extra 10 minutes of sleep and you will also significantly reduce the chances of forgetting something important. Do not forget to plan ahead and go with the right equipment.
What Should You Take With You?
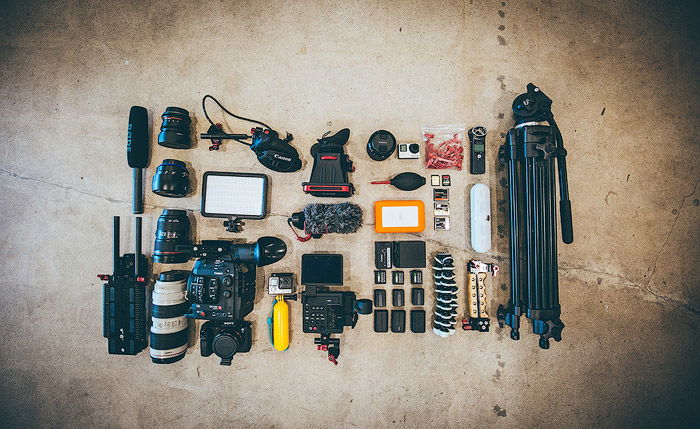
Here is a list of sunrise photography essentials to pack in your backpack: Everything else is either optional or depends on the scenery and weather.
How to Choose a Camera For Sunrise Photography
As the saying goes, the best camera is the one you already own. This fact is true to some extent. So, if you already have a decent DSLR camera, invest in higher quality lenses. If you are a new buyer, here are a few things to consider:
Best Cameras for Sunrise Photography
DSLR APS-C: Canon EOS 80D / Nikon D7500 DSLR Full-Frame: Canon EOS 5DS R / Nikon D850 Mirrorless APS-C: Fujifilm X100V Mirrorless Full-Frame: Sony a7R IV Micro Four Thirds: Olympus OM-D E-M5 MkIII
How to Choose a Tripod
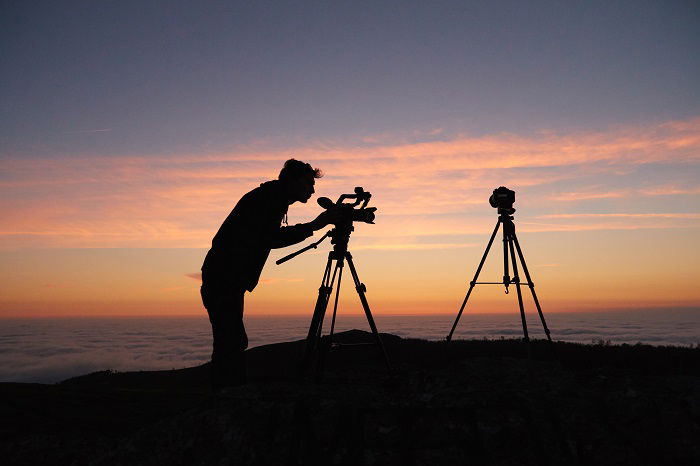
Your tripod needs to be sturdy and well-balanced. It should be able to hold your camera against the wind. If you go hiking, your only option to reduce weight is to get a carbon fiber tripod — but it comes at a cost. I prefer Manfrotto and Slick tripods, they have always been great with zero issues. However, you have a serious issue on your hand if you shoot seascapes and like to go into the water. It will probably ruin the tripod in a couple of months. If you’re photographing in an environment which ruins your gear, you should go for cheaper equipment. I use Weifeng tripods all the time. They are cheap and provide excellent quality.
How to Choose the Best Lens For Sunrise Photography
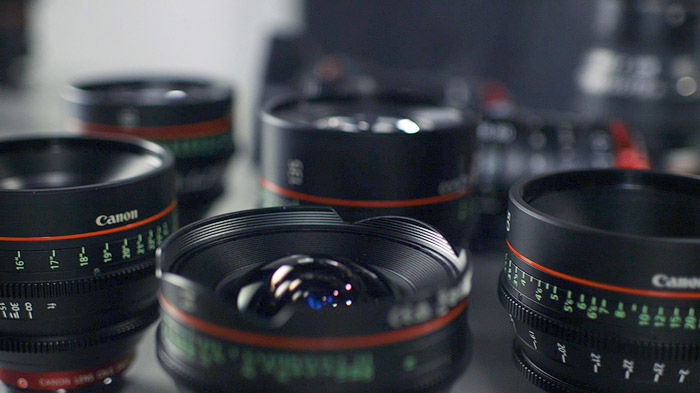
There are no strict rules about lenses, and you can get away with any focal length. Typically, photographers prefer wide or ultra-wide angles as their primary lens. I recommend having the whole range covered. Wide-angle + mid-range zoom + telephoto is an optimal choice. If you are just starting out, you could get away with some general-purpose lens, like 18-105. With this type of lens, you will learn how to use different focal ranges and will know better what works for your style. Here are a few recommendations: APS-C: Full Frame:
Best Weather Forecast Sites
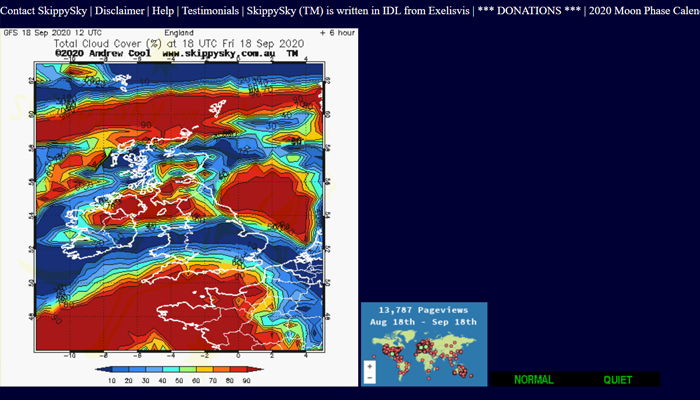
Sunrise photography is all about light. And, as we all know, light depends on the weather to a great extent. You need to learn how to plan to get the best sunrise landscape shots. Typically, I prefer a partly cloudy sky. I wouldn’t bother with less than 30% cloud cover for a general sunrise landscape. There are, of course, different scenarios. For instance, for a waterfall or a forest, I would prefer a clear sky to increase the chance of getting sun rays beaming through the trees. To figure out how early I have to get up, I use these two sites: The Weather Channel and SkippySky. The former has hourly cloud coverage, and the latter shows the type and thickness of the clouds.
SkippySky can look a little overwhelming, but you’ll figure it out fairly quickly. It also helps to predict if there is an opening between the clouds and the horizon. To get bright colors, you need high clouds. Low and heavy clouds rarely produce something spectacular. All in all, you can never be 100% sure about weather conditions and have to try it out to see if it works. The wind can also affect certain types of landscapes. For instance, don’t go to the cliff’s edge if there’s a strong wind. Foggy weather can also play to your advantage — photographing a forest covered in fog will produce unique and dramatic-looking images.
How To Pick a Location
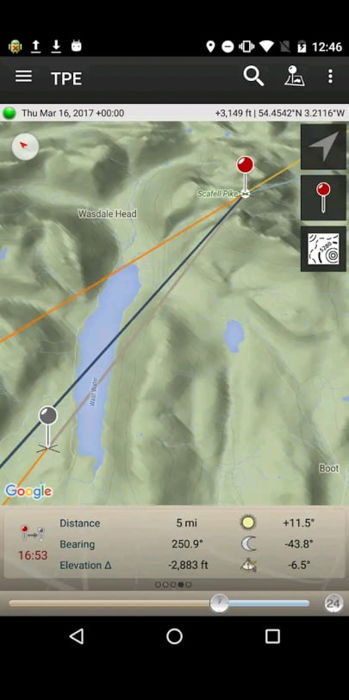
I usually start by looking at Google Maps. I use the query ‘area name sunrise’, or something similar. Once I find some East-facing area (North-East and South-East also work), I look for photos in Google Images, 500px, and other sites, which include a location. This search gives me a general idea of what to expect from the area. The Photographer’s Ephemeris app is also helpful for checking a location. You will see how light falls on a chosen spot almost anywhere on Earth.
How to Shoot Breathtaking Sunrise Photos
Scout The Area In Daylight to Know Your Environment
The best way to prepare for the new area is to scout it before the sunrise. In the darkness, it could be hard to find a path, measure distance or see potential shooting spots. So, if you get a chance, walk around the day before, take notice of the best places. Use some virtual reality app like Photopills or PlanIt! For Photographers to see the Sun/Moon/Milky Way positions for your future shots.
Arrive One Hour Before Sunrise to Get Everything Ready
Typically, you need to arrive well before the actual sunrise for several reasons. First, you’ll have the ability to shoot the long exposure. Second, you’ll have some time to get your equipment ready. The first light appears about 30-40 minutes before sunrise, but you can start creating long exposure photos even earlier than that. I’ve seen clouds painted red 60 minutes before dawn. Keep in mind that all faint colors will turn vivid and juicy on the final shot.
Use a Headlamp to Find Your Focus
There are a few ways to focus your camera in the middle of the night, but the easiest way is to use your headlamp or a torch. Pick an object around the hyperfocal distance, then lock the focus and shoot. These are the steps you need to follow: Be sure to change back to the Autofocus mode once you zoom in or out because of the so-called focus breathing effect.
Shoot Long Exposures to Add Movement to Your Photos
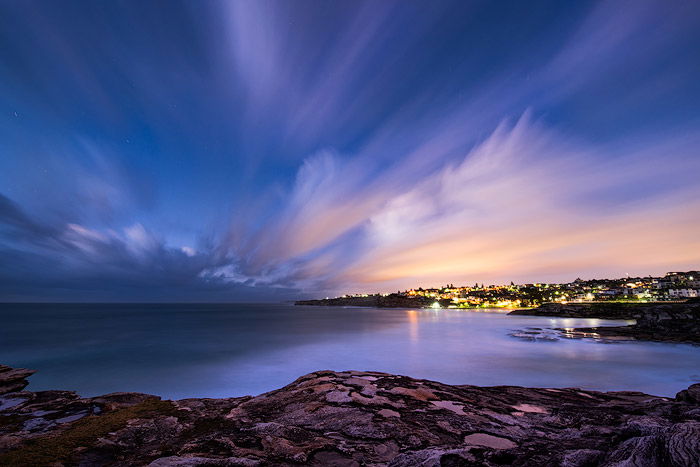
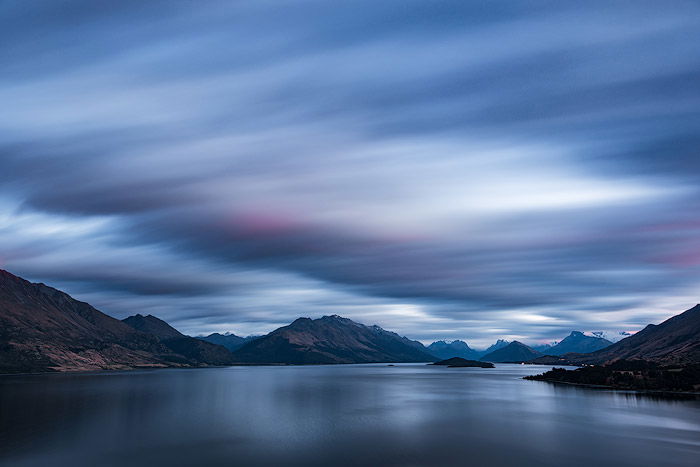
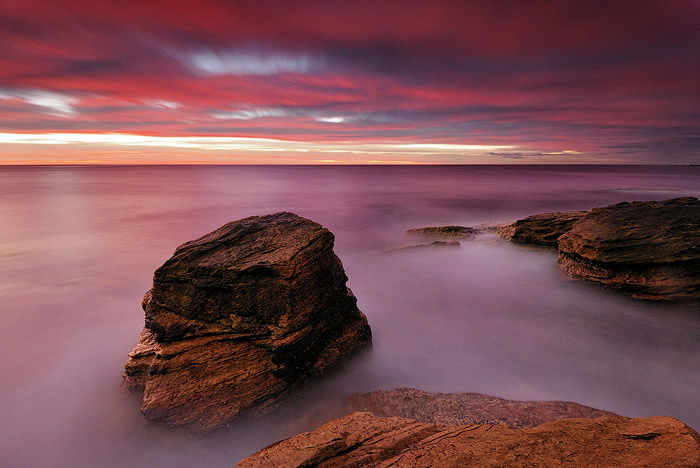
The pre-dawn period works best for long exposures, and that’s the main reason to come early. The longer the exposure time, the more movement you can catch. Typically, in the total darkness, 60+ minutes before sunrise, you could get a shutter speed anywhere from a couple of minutes for f/8 to 10 minutes or more for f/16. Use your judgment and the sense of beauty to figure out how long you need to expose the photo for. The most common subjects for long exposure sunrise photography are clouds and water. This is the time when using a neutral density filter is crucial. They reduce the amount of light that is hitting the camera sensor, thus making it possible for you to shoot long exposure without overexposing the picture. For the sky, you can expose as long as you like and the clouds will just turn into trails. For water, it is not as simple. Relatively calm water (river, lake) just smooths out with time and becomes perfectly flat at 30+ seconds. Restless water, like the sea or the ocean, can turn into a foggy substance. You can find a lot of useful tips on how to shoot long exposures in our course Infinite Exposures.
Shoot Short Exposures to Freeze the Moment
If you only take long exposures, you are limiting yourself with just one technique. By shooting short exposures as well, you can freeze an interesting motion in time. My best advice here is to keep experimenting, keep trying different approaches and styles.
Learn to Work With Light to Produce High Quality Images
Photographers must understand light, appreciate it and work together with it trying to take all the best out of it. For instance, you have envisioned a photo, and the light is entirely different. Don’t be stubborn! Be flexible instead, adjust to the lighting conditions and act following the current state of nature. Learn to quickly change the whole course of the morning and adapt to the environment. It’s best to photograph with the light source on the side or in front of you. The sun behind the photographer is the worst case as it fills in and hides all the details and textures.
Create a Starburst to Add Interest to Your Sunrise Photos
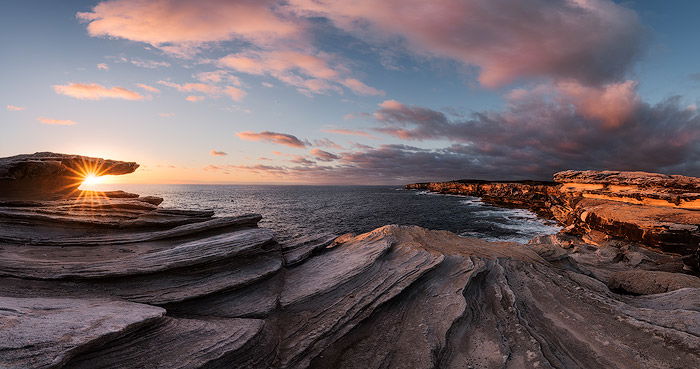
You’ve probably seen those starburst rays coming from the sun. It’s hard to believe how easy you can achieve just the same effect. Without going deep into the theory and the structure of aperture blades, below are a few steps to create a starburst effect. Make sure you clean your lens properly, otherwise you’ll get ugly flares, which are hard to deal with in editing.
Make Use Of The Golden Hour to Add Warm Hues
Golden hour is a period of the best light. It starts right after sunrise and lasts for about an hour. Usually, it’s warm, bright, and casts long shadows featuring all the textures. It’s best to photograph with the light source on your left or right so that the shadows are the longest and the land features are most prominent.
Use Filters or Bracketing to Balance The Light
For sunrise photography, you need a solution that fixes the difference between land and sky exposure. The sky is typically much brighter, and it results in either an overexposed sky or an underexposed land. To alleviate this issue, you have two options: Personally, I prefer the latter because filters have some disadvantages. First, they may have a color cast. Second, you need to carry a whole bag of filters. Third, it takes time to change the filter, and you may lose the moment. To learn more about how to use bracketing in photography, check out our article here.
How to Find the Best Sunrise Photography Settings
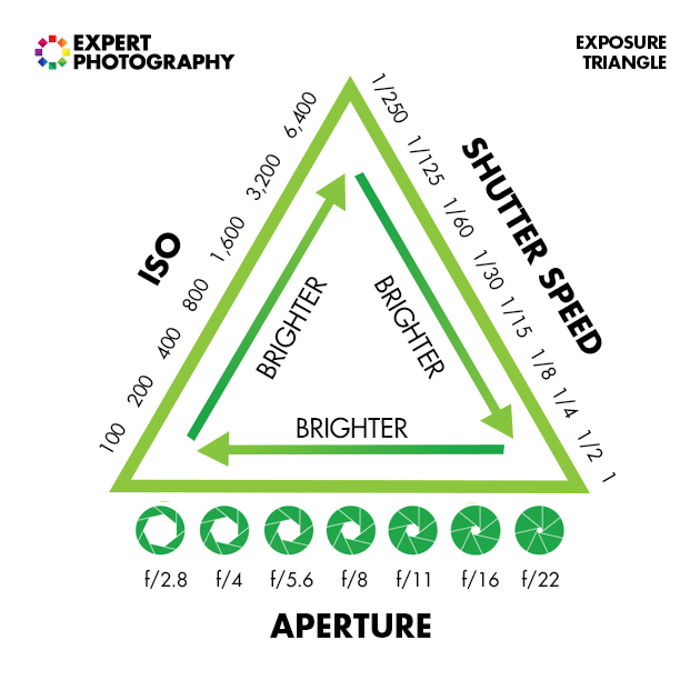
Setting the Aperture
As with any other type of landscape photography, you typically shoot in either Manual mode or Aperture Priority mode. For landscape, you need a depth of field covering as much area as possible. That’s why you set the aperture to at least f/8 — but I recommend to go with f/11-f/16. Don’t go higher than that because you will start losing sharpness instead due to lens diffraction. In fact, some lenses start to get diffraction even at f/16. You’ll need to test and compare.
Setting the Shutter Speed
The shutter speed is a variable here, and it depends on the surrounding conditions. When you just start shooting 60 minutes before sunrise, the shutter speed at f/8 could reach 5-8 minutes easily. Pro tip: To get shutter speeds longer than 30 seconds you would need either a release cable or remote control for your camera. Set the camera to Bulb mode, then fire the button and then press it again once the time lapses. The other way is to use the Wi-Fi module that appears in some modern cameras. As the ambient light becomes stronger, the exposure time decreases gradually. You need to learn what shutter speed you need for specific objects to make them look great and then adjust your settings accordingly.
Choosing Your ISO
Every camera handles ISO differently, so it requires an experiment to determine the max ISO you can get away with. Please note that darker photos with high ISO will produce much more noise than adequately exposed pictures with the same ISO level. In fact, you only need to manipulate ISO for the sunrise when there are some moving objects, like waves or birds. In all other cases, you can keep it at 100. I also recommend to keep it as low as possible for the long exposures because otherwise, it would produce a lot of extra noise.
Conclusion
Sunrise is the most magical time of day when you can fully connect with nature. Even though there are many things you need to pay attention to, the magical atmosphere you can capture is always worth the effort. Set your next alarm clock early and try it out! The tips above will help you to take stunning sunrise photos.


