The catalog also stores information about your photos, such as their metadata. This includes things like the camera make and model, lens information, aperture and shutter speed, ISO setting, and more. The catalog can even store GPS location data for photos that were taken with a GPS-enabled camera. So how does the Lightroom catalog system work? Let’s take a closer look. [ExpertPhotography is supported by readers. Product links on ExpertPhotography are referral links. If you use one of these and buy something, we make a little bit of money. Need more info? See how it all works here.]
What is Adobe Lightroom and its Lightroom Catalog?
Adobe’s Lightroom is their staple program that is primarily used for organizing. The program allows you to upload a vast range of images. You can do this as the program doesn’t keep each file inside the actual program. Instead, they are a reference to your photograph. Lightroom stores a preview and information for each image uploaded. Then this makes a catalog. Lightroom has features from organizing and editing photos to exporting them to various platforms. Adobe aims to create a program that can cover a photographer’s post-process from upload to export. They have made a great program that is as useful for beginners as it is for professionals. I have used Lightroom throughout my whole photography career since its first iteration in 2007. I am now using the newest version called Lightroom Classic. Adobe decided to change the interface for Lightroom CC (creative cloud). It’s so useful that I can’t imagine a time before this program existed.
What are Catalogs in Lightroom?
Adobe’s Lightroom uses catalogs as its primary filing system to organize photos. Once you have loaded a catalog, the workspace will only show you the images inside this specific folder. A single catalog can hold an enormous amount of images. I have used the same catalog for over five years that now contains over 15,000 photos! It is up to you how you want to sort out your workspace. Lightroom offers many options to sort your images inside a catalog through its ‘collections’ feature. It also provides a good starting point for the ‘smart collections’ feature.
How to Navigate a Lightroom Catalog
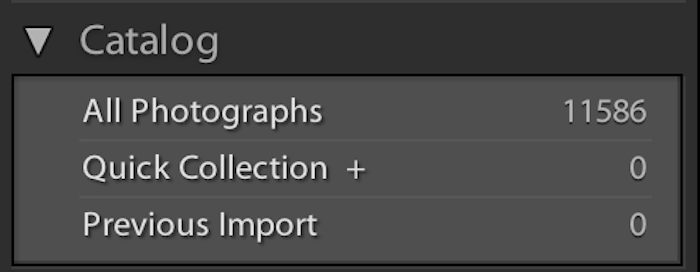
Let’s look at the main ‘library’ section of Lightroom. The sidebar to the left tells you all about the current catalog you are working in. You will see a list of subsections in the catalog drop-down menu. This is where you can view images related to each section on the main interface.
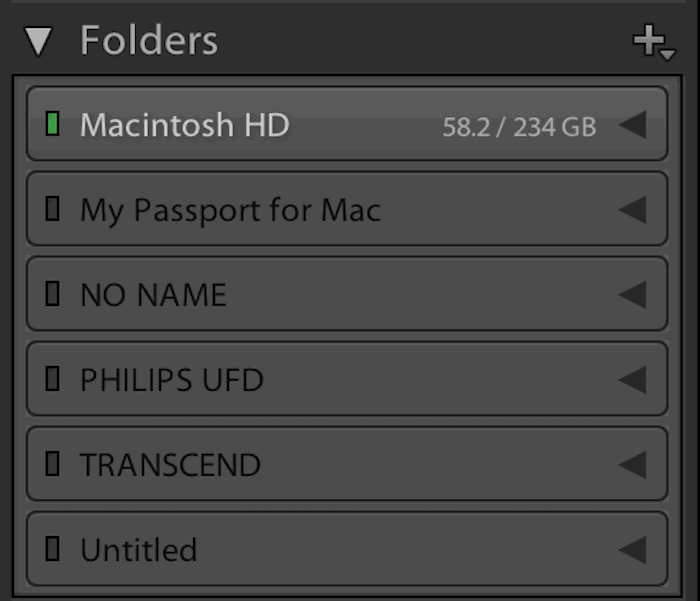
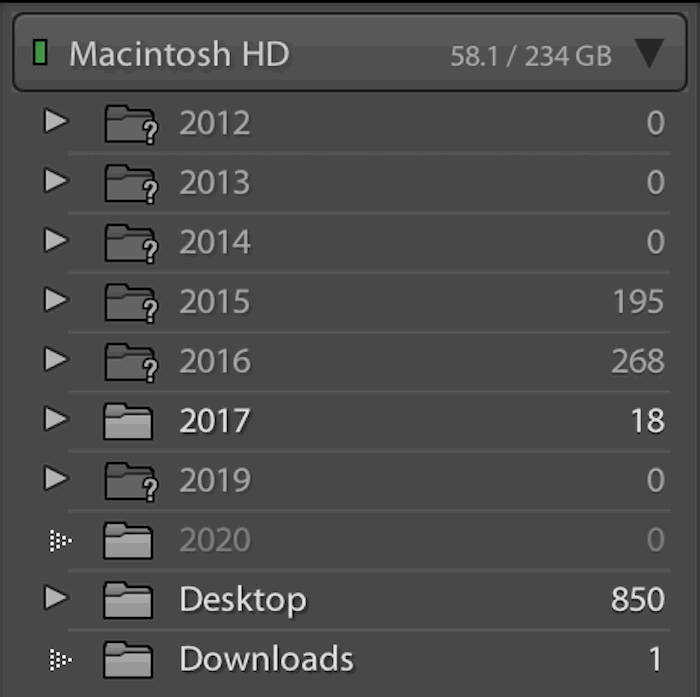
Under this, you have a ‘folders’ section. This menu mimics what the original files look like on your computer. The subsections are split into different hard drives. You will only see hard drives that you have uploaded images to through this catalog.
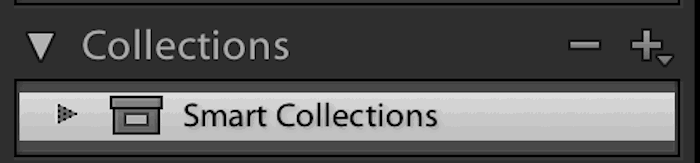
Here, you can see how much space you have remaining on each hard drive. This is a good feature as it quickly and easily shows you which one is best to use. Underneath this, you will find the ‘collections’ drop-down menu. Collections are a way of further organizing your catalog. Here you can collate your images into different categories of your choice. Lightroom also gives you a ‘smart collection’ option. These ‘smart collections’ can scan all of your images’ metadata. Then it will group relevant images into the same section. This is a great feature if you have a lot of photos that aren’t organised yet. Or if you want to sort images by their information. Instead of going through each image manually, this method can save you a lot of time.
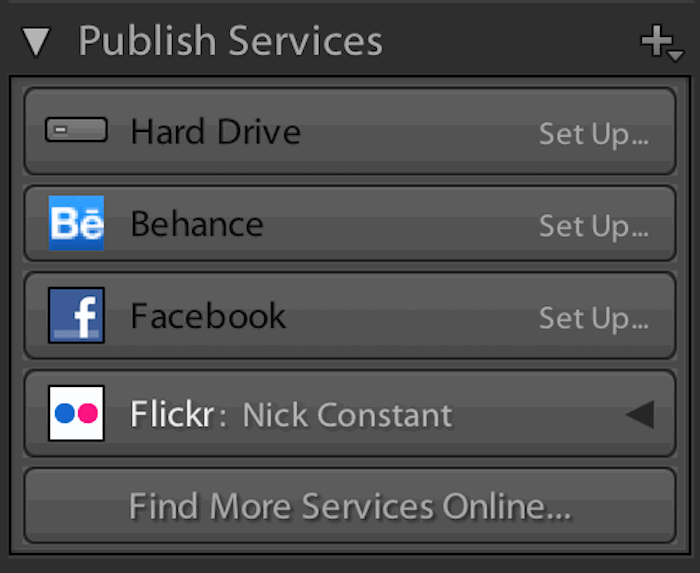
The last category in this section is ‘publish services’. Here, you can connect Lightroom to various social media platforms. This creates a seamless process from upload to publishing. This is useful for people who update social media regularly.
At the bottom, you will find the most useful buttons on the whole interface—the ‘import‘ and ‘export‘ buttons. These are self-explanatory, and the interface makes for straightforward file handling.
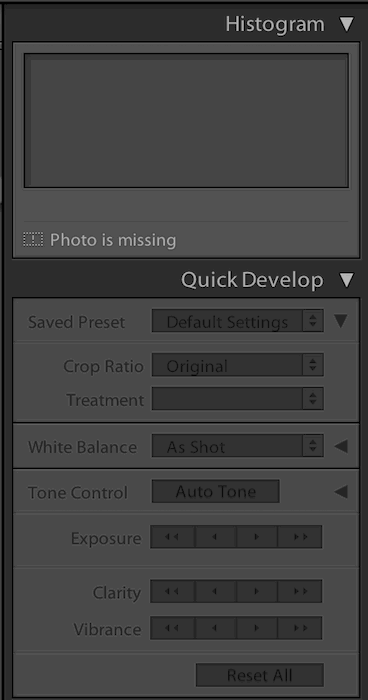
On the right-hand side of the catalog, you will see the histogram for the current image you have selected. Under this, you have a ‘quick develop’ section. This section can be helpful for images that can be fixed easily. (Like by adding an extra stop of light.)
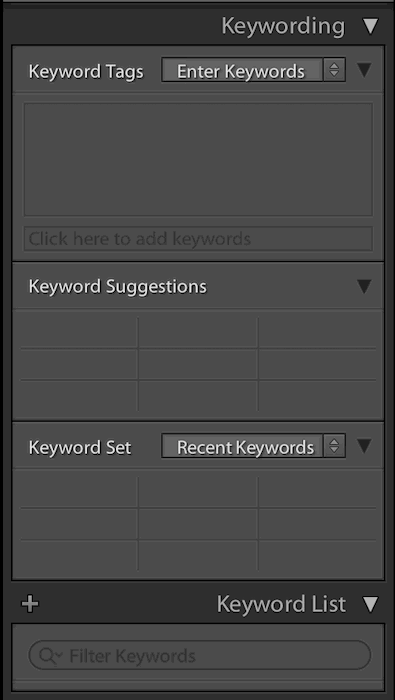
The ‘keyword list’ is next. This is where you can add relevant keywords to your image. This may seem like a long process, but it is great for archiving purposes. Keywords will make searching through your archive much easier in the future.
You will then see the ‘metadata’ category. I have found that this is the best way to view an image’s metadata out of any program available. You can see all the information you need, from camera settings to what lens and focal length you used.
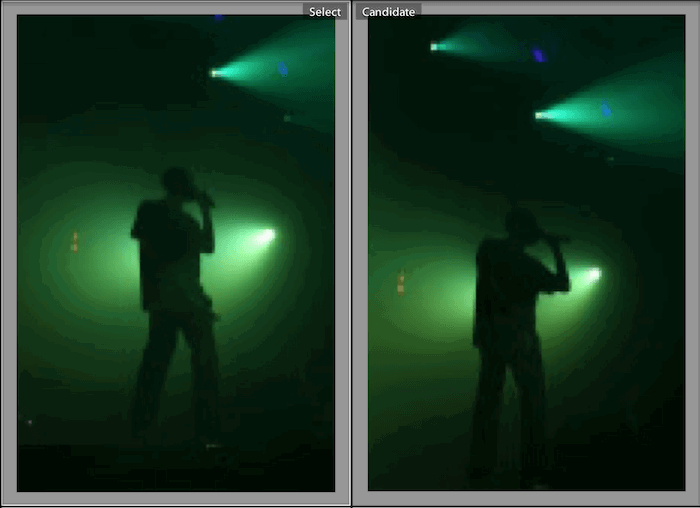
Along the bottom of the interface, you can adjust the thumbnail size of the images you’re looking at. You can also change how you see the photos. Select between grid view, single image view, comparison view, and survey view.
The latter two (comparison view and survey view) are a dream for photographers. These are particularly useful when choosing from a range of similar images.
The other sections along the top speak to the editing process more than the sorting of your catalog.
Advantages of Using A Lightroom Catalog
Archiving
The main benefit to using a Lightroom catalog is the program’s ability to give you confidence while archiving. I don’t have to pay much attention to where my images are going when using Lightroom. You can set up a folder at the start. Then whenever you upload images, Lightroom will automatically sort the original files for you. They sort by date, as the program has access to all your image’s metadata. This feature acts as a digital assistant, meaning you can focus less on mundane file sorting. That means you can spend more time doing what photographers love most—looking through images!
Non-Destructive File Handling
Another crucial feature is the way Lightroom works with images. As I mentioned before, the catalog works with previews. This means you can edit an image as much as you like and never touch the original file. If you have ever worked in Adobe Photoshop, you understand that this is an important feature. In Photoshop, if you haven’t taken steps to keep the file intact, you will lose that image. This could be something as simple as changing the file size to a web-based format. If you have gone over the original file, you might as well kiss that picture goodbye.
Editing Images
In the ‘develop’ section in the catalog, Lightroom gives you a range of sliders to work through. The modifications they give you are significant. Especially for making minor adjustments like cropping or straightening an image. I prefer to do this step in Lightroom rather than Photoshop. The accessibility to these modifications is what keeps me coming back. Lightroom defines the purpose of each slider as simply as possible. There are many occasions where these features remove the need for Photoshop. Of course, ‘spot removal‘ and other features that use the adjustment brush are not as fine-tuned as they are in Photoshop. But for minimal editing, you won’t have to be as well-rehearsed in using these features. I enjoy Lightroom’s ‘compare view’ feature. It allows you to see the original and edited version side by side or split down the middle. I found this helpful as sometimes it’s easy to lose sight of particular sections of an image. With this feature, I can identify the aspects I do or don’t like about my edits. For a thorough explanation of all the edits, you can make in Lightroom, check out our Effortless Editing with Lightroom course.
Batch Editing and Batch Presets
Lightroom makes batch editing simple and easy. Adobe understands that jobs or planned shoots usually occur in the same environment with the same lighting. You can edit one image to your liking, then save the adjustments and apply them to the rest of your pictures. This is all done in the program. Lightroom even lets you fine-tune the adjustments and add them to the preset. If you want to edit the color temperature and contrast but change the highlights individually, you can. To do this, you just untick the box labelled ‘highlights’ when saving your new preset.
Browsing Through the Catalog
Navigating through the Lightroom catalog is easy. The ‘folders’ drop-down menu tells you which hard drives are available to work from. In this, you have another menu that reflects how the files should be organised outside of Lightroom. This organizes your files by date, making them easy to find. A great feature is the rating system. When you come back from a shoot, this feature makes the final edit easy. You can go through each image and rate them to differentiate the pictures you like from those you do not. Afterwards, select the filter to show only your rated photos and you will see your top images. Not only does the catalog provide a 5-star rating system, it also includes a color system. This is similar to how you can arrange important emails. This separate system makes it easy to have an ongoing collection and still add new images to an already established pool.
Tethered Capture
The studio photographers out there will rejoice at this feature. The ‘tethered capture‘ feature provides almost complete camera control when you plug your DSLR in. This feature means you can see the images on the Lightroom interface seconds after taking a picture. There are many uses for this. Setting up a new catalog at the start of your shoot means you can keep it separate from everything else. This is a helpful feature because sometimes 99% of your images will be useless in the future. You can also send this particular catalog (as well as the photos) to an editor.
The Disadvantages of Lightroom Catalog
It Can Be Slow
There are times when the catalog can take a long time to open and scroll through images. This is most relevant when your catalog has upwards of 20,000 images. The speed of the program is also dependent on how fast your computer is. If you have a slow computer, I would suggest creating different catalogs. Spread out the number of images so your processing power doesn’t suffer.
Keeping Track Of Files
As you can see, I am nit-picking with these disadvantages. (It’s hard to find many weak points.) One thing I have struggled with is keeping track of my files. This is a personal issue rather than a software one, but you can learn from my mistakes. As Lightroom doesn’t hold your files, it’s easy to forget where the original files are. This is usually fine, but it becomes an issue when you upgrade to better devices.
Conclusion
Personally, I can’t see a better way to sort digital images than by using the Lightroom catalog feature. It’s an easy way to archive as well as sort through big bulks of images. The interface has been refined over 14 years and is easy to navigate. This reduces distractions and gives you a more intimate connection with your images. If you’re not convinced yet, Adobe provides free trials for all their programs. Give it a try and you’ll never want to sort your images manually again!
![]()