Portrait Backgrounds with Blurred Effects
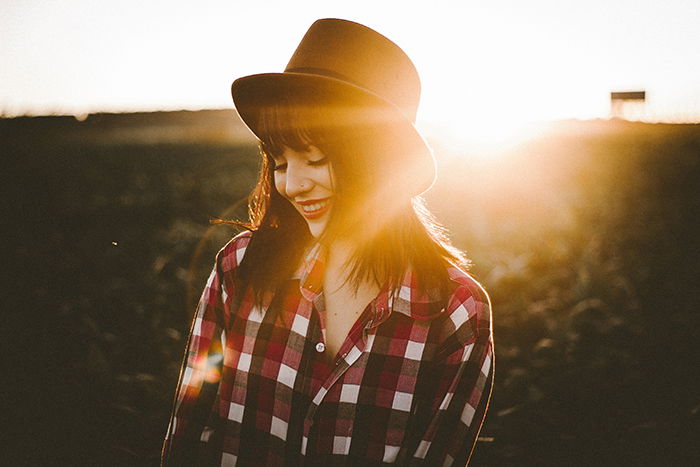
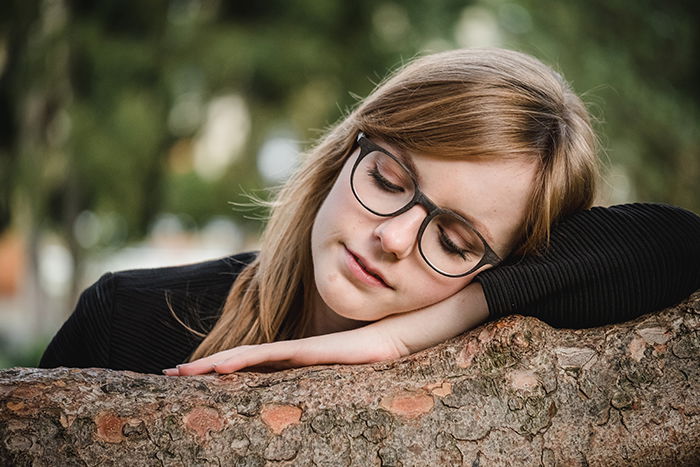
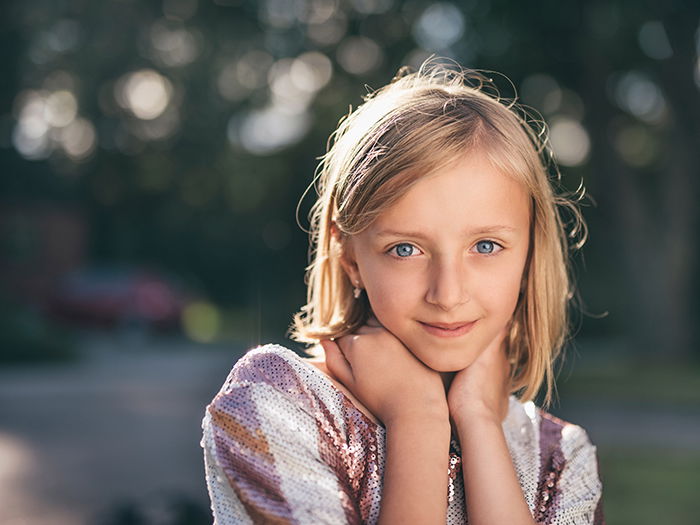
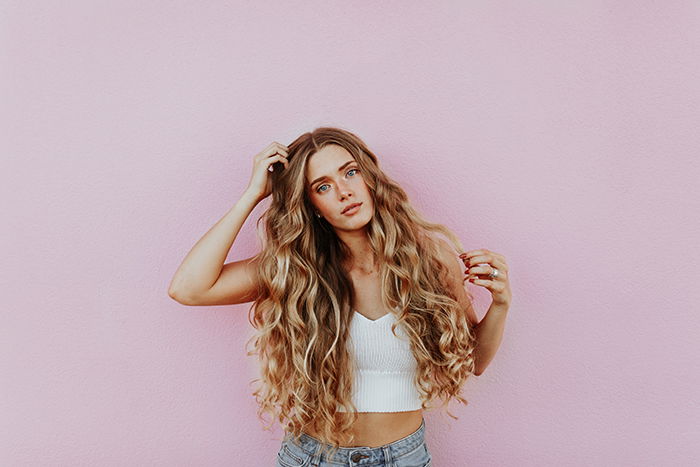
Soft backgrounds are ideal for closeup, emotive, and moody portraits. Sharp portraits emphasize facial features, movements, and expressions. If any of these points sound appealing, then blurred backgrounds are perfect for you. Though soft backgrounds may look similar, they still need to be considered when taking photos of your subject. A few things to keep in mind are colors and light. If you don’t pay any attention to these elements, your portraits might end up looking unflattering. In the following sections, you’ll find out how to avoid this.
Colors
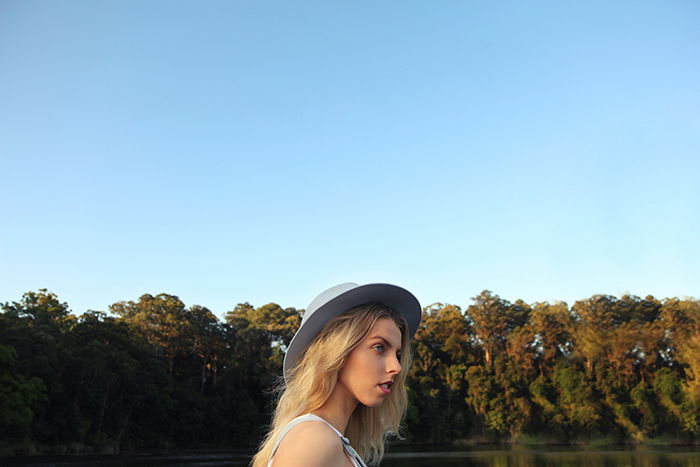
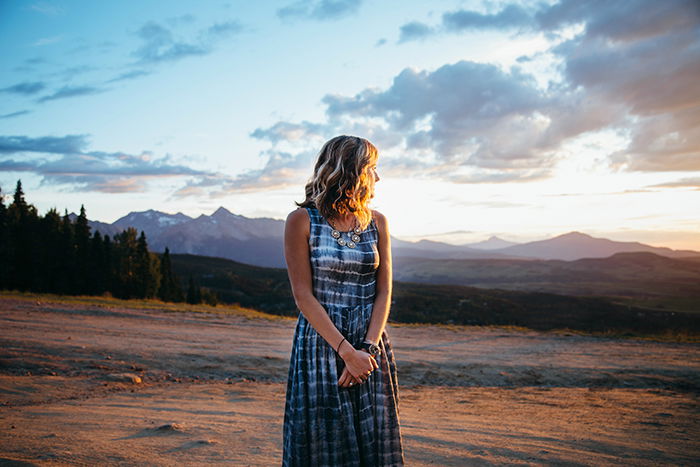
Colors can enhance your subject’s features (e.g. make their eye color stand out) or simply make your composition look striking. When you look for backgrounds to include in your portraits, make sure their colors complement your subject’s face and clothes. Watch out for appealing yet gentle colors that won’t take the attention away from your model. A mild green background will look good with a white outfit, for instance. There are exceptions to this rule. Some portrait photographers, like Agata Serge and Alessio Albi, create surreal color combinations of their own. In their work, you’ll see tones that, in the best way possible, look unnatural. If this is something that appeals to you, you don’t need to pay as much attention to the raw colors in your camera.
Light
Light plays an important part in every photograph, regardless of genre, but it’s particularly significant in photos with blurred backgrounds. Since there aren’t that many details to focus on, a lot of attention goes to the light. Because of this, you have to make sure that you shoot in the right places. If the light is too bright or too dark, your subject’s appearance will be affected. You’ll also lose a lot of the precious bokeh that defines soft portrait photography. To avoid both underexposure and overexposure, choose well-lit locations. Here are a few places where you’re bound to find the perfect background light:
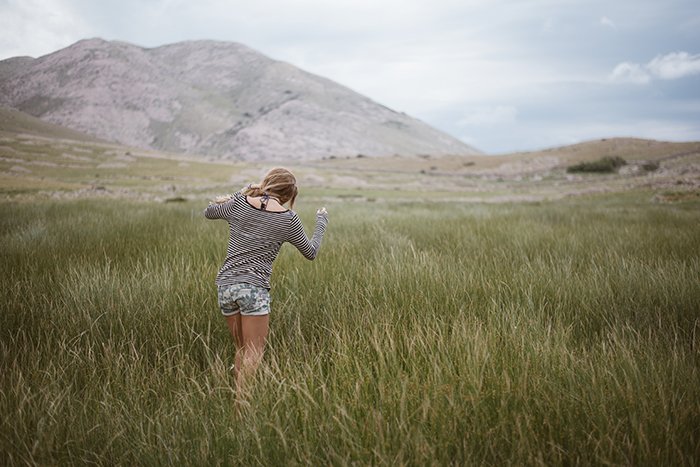
On sunny days, a shaded area will provide you with bright bokeh, vibrant colors, and even lighting for your subject’s face; On cloudy days, an open field will give you a lot of soft light to enhance your backgrounds; and At night, an open place (e.g. a roof or a hill) will allow you to experiment with city light bokeh.
A combination of good light and appealing colors will give you the best soft backgrounds for your portraits.
Detailed Backgrounds
Unlike blurred backgrounds, detailed backgrounds have a lot of distractions that could ruin your portraits. To avoid this, you have to pay attention to background elements and colors. When it comes to selecting colors, you can apply the same rules that I mentioned in the previous section. Background colors are even more important when it comes to deep depth of field, so make sure they complement your model.
Background Elements
A busy background will ruin your portrait. A simple one will look too boring. Are detailed backgrounds really worth it? Time and time again, photographers have proven that details can enhance portraits, deepen their stories, and motivate photographers to be more aware of backgrounds. Take, for example, Cole Sprouse’s photographs. Though he’s mainly known for his acting background, he’s quickly becoming an important figure in the photography community. Cole rarely holds back when it comes to details. His analog portraits gracefully merge humans and their surroundings. At the same time, they don’t look messy or busy. So yes, detailed backgrounds are worth it.
Things Worth Including in Detailed Portrait Backgrounds
Cole Sprouse is a prime example of someone who uses background elements wisely. If you want to be equally strategic when taking photos, keep these things in mind:
Make sure the background supports your story. Does it match the emotions you’re trying to create? Don’t choose a random location just because it looks aesthetically pleasing. Instead, find a place that complements your subject’s clothes, expression, and pose. This will add meaning to every background detail; Avoid an abundance of noise. Taking photos in a very busy place will result in messy photos. If there are too many elements in your composition, your subject will be lost in all the chaos. Choose a place that has just enough details to tell your story; and Create an inspiration board. The more detailed photos you observe, the easier it will be to make your own compositions. This goes for any photography genre; when I first started taking photos, I learned so much by simply looking through my favorite artists’ galleries.
DIY Backdrop Ideas for Indoor Photography
If you’re shooting indoors, you can create your own DIY backdrops with the help of simple items. Some of these will make your photos look like studio shots, while others will simply add a pleasant texture to your compositions:
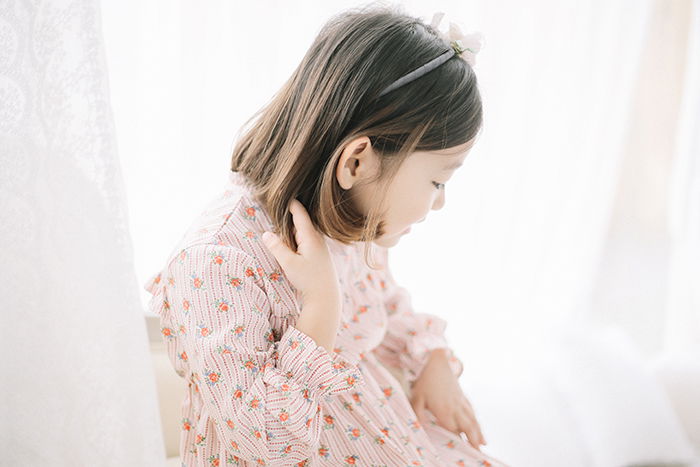
Use bedsheets to add a pop of color to your indoor portraits. If you want to add more depth to your background, use wrinkled sheets. They may not look appealing in real life, but they’ll definitely complement your portrait. Lace curtains can be used to light up your subject’s face and add a bright atmosphere to your entire photograph. I often use curtains to take very soft, minimal indoor portraits. They never cease to impress me, especially on days when I’m out of ideas or when the weather isn’t giving me enough light. String lights are great for creative and vibrant portraits. They’ll add a beautiful string of bokeh to your backgrounds.
DIY Backdrop Ideas for Outdoor Photography
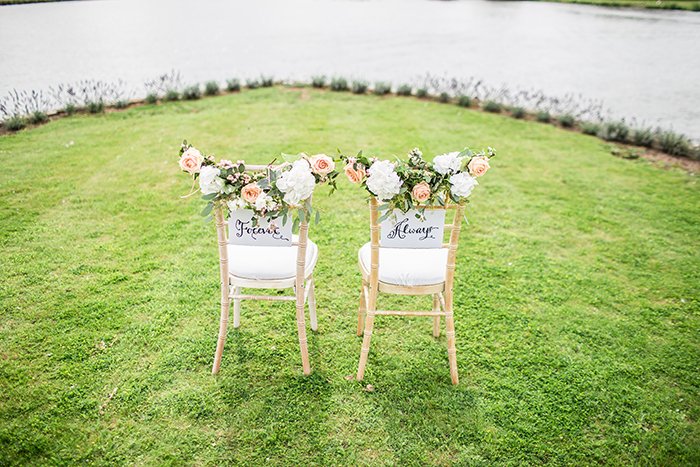
Outdoor backdrops are an incredible way to add more creativity to your portraits. They’re often used by wedding and family photographers to tell a deeper story, add more joy to their portraits, or simply make their photos stand out. However, it’s not always possible to just go out and hang your curtains somewhere. Outdoor backdrops are a little tricky to work with, but you should give them a chance if your budget allows. Some photographers use doors, fences, and furniture to create the illusion of an indoor space. Other photographers use simpler techniques like creating Polaroid-like frames with the help of paper. Others take their stands outdoors and hang curtains over them. The possibilities are endless. When it comes to outdoor backgrounds, the trick is to find a peaceful location. It’s easy to move around when you’re taking simple portraits, but it’s much more of a challenge to relocate when you have a bunch of props with you. Before you plan your shoot, make sure you find a location that’s safe, comfortable, and well-lit.
Tips for Studio Photography Backgrounds
If you’re interested in studio photography, you’re in for a creative treat! Studio backdrops are easy to work with, fun to make, and ideal for taking striking portraits. All you need is some free space and a reliable source of light.
DIY Photography Backdrops
Stands can be quite expensive. To make your own, you can use PVC pipes. Once this is done, hang a bedsheet or curtain over it to create the illusion of professional background. If you can’t create a stand, just use a wall. You can temporarily tape something to it (e.g. large sheet of paper), or use it as a backdrop for props like furniture, frames, and doors (just like you would in an outdoor environment). Though a taped sheet of paper won’t last long, it will give you enough time to experiment with various backgrounds and strengthen your studio photography skills. If you don’t own professional lighting equipment, you can still experiment with studio photography. You can use torches, lamps, and phone screens to light up your backdrops. This won’t give you the most professional results, but it will definitely provide you with a lot of valuable shooting experience.
Professional Backdrops
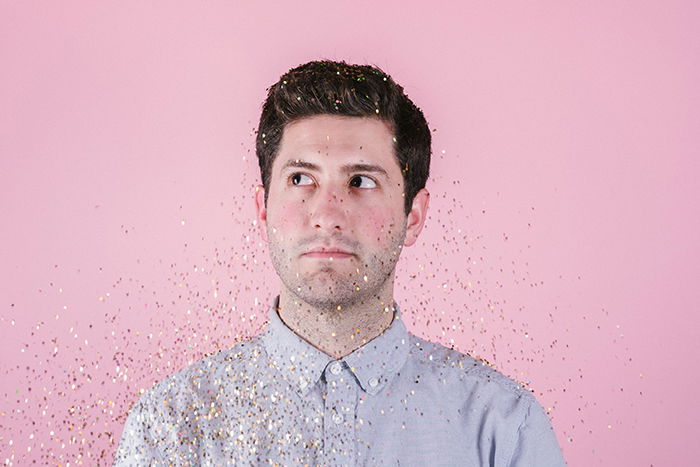
Professional backdrops can be purchased for as low as £10. The most durable fabric will, of course, cost significantly more than that. If you want a backdrop that will last for many shoots, invest in a solid color like grey or black. Neutral colors won’t look repetitive in your portfolio. If you want to manipulate your colors, you can invest in a backdrop that you’ll be able to color correct easily. This will save you a lot of time and money in the long run. If you want to use a background only a few times, you can purchase sequin, scenery, brick, or holiday-themed backdrops. These backdrops will stand out in your portraits. However, using them too often will make your photos look boring, so plan your shots wisely.
Conclusion
When I started to focus on my backgrounds a little more, my work completely changed. I became more open-minded, imaginative, and innovative. Choosing the right backgrounds will make your portraits stand out, challenge you in fun ways, and improve your observation skills. In addition to taking eye-catching photos, you’ll be more aware of colors, compositions, and lighting. This knowledge will have a positive impact on every part of your creative life. Even when you take photos in another genre, you’ll be able to use these lessons and significantly improve your work. The more backgrounds you experiment with, the closer you’ll get to taking amazing portraits. Why not start now?
