[ExpertPhotography is supported by readers. Product links on ExpertPhotography are referral links. If you use one of these and buy something, we make a little bit of money. Need more info? See how it all works here.]
What Is Light Graffiti?
If you’ve read all about light painting, then you’ll have a good understanding of how this works. Basically, when you’re shooting in poor light, your camera’s sensor is a blank canvas. Just like light painting, you use your light source to paint/graffiti on where you want the camera to expose. To reach the desired result, you’ll have to shoot with a slow shutter speed and high f-number.
What You’ll Need
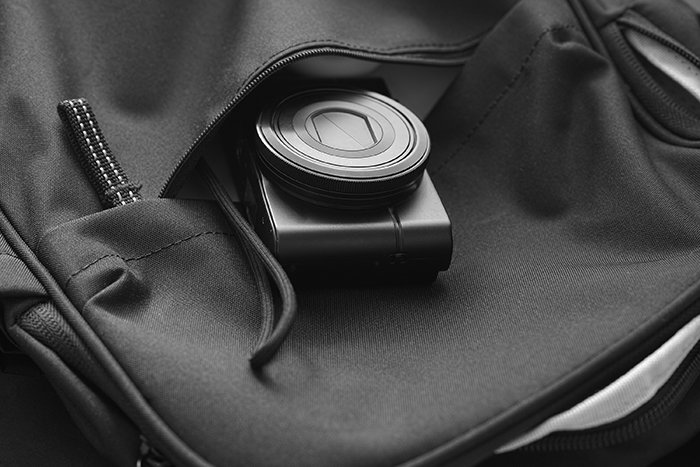
You don’t have to own the fanciest gear to perform this photography style. You’ll only have to use a sturdy tripod and a DSLR or Mirrorless camera. As an alternative, compact and bridge cameras can also work well if they are featuring a manual mode. If there’s no chance of shooting with a digital camera, just use your smartphone!
How To Create Light Graffiti
1. Select the Exposure Mode
First, you’re going to want to set your camera to Manual mode. This will allow you to make the most out of your shutter speed. Unlike on Auto mode, you can go all the way past 30 seconds on the dial, and you will reach Bulb mode. You can also try Shutter Priority mode but note that it has limitations. This means that the camera will expose for as long as you hold down the shutter. I recommend using a cable release or setting a timer for this. Whenever you’re painting with light, you’re dealing with long exposures. Your shutter speed will depend on how long you need to complete your painting. First, experiment with different shutter speed values. Then, you can try out different aperture and ISO settings. If you want to create a sense of depth, then you’re going to need to have a narrow aperture. This allows less light into the camera and will pose other problems for you. This results in longer exposures and a high ISO.
2. Pay Attention to the Depth of Field
DoF is vital to completing an excellent light graffiti photo. If the picture is out of focus, then it’s going to stand out like a sore thumb (for all the wrong reasons). Check out the photo below, it’s a cool photo, but it’s out of focus. Focusing in low light is quite hard, so I recommend two options. One, you can use manual focus. Two, you can shine a light on where you’re going to focus and use automatic mode. Then switch to manual focus so that it doesn’t adjust when you go to take the photo.
I’ve seen some amazing light painting photos. What they share in common is that these photos have an impressive depth of field and tack-sharp focus. When it’s a small and simple light source, the focal point not so obvious. But as you are getting more creative, you can start to tell. As you would all know by now, to produce a deeper depth of field you’re going to have to narrow your aperture when painting with light. This, in turn, will provide your camera with less light for your exposure, so bear that in mind. We recommend using an f/8 or higher f-number.
3. Choose a Light Source
My advice is: go crazy with this! I’ve used sparklers, torches, flashlights, fire, LED’s, even my phone. If it makes a light, then you can use it, and why not? I haven’t tried glow sticks yet, but they are perfect tools for creative light photography. They stay bright for ages, come in a variety of colors, are quite cheap too. If you’re using a torch, be careful not to shine this into the camera. Otherwise, the light source will start to appear uneven.
4. Play a Graffiti Game
I’m not that big on light graffiti, I prefer night photography, but one game I have played is a form of Pictionary. You get together with your friends and draw something with your light source. The rest of the group has to guess. It’s a fun and creative way to spend an evening.
Conclusion
Light graffiti is a great way to experiment with tagging without ruining others’ property. It is easy to perform as you’ll only need a sturdy tripod and a DSLR camera. You can easily turn your night photography game to a whole new level with this technique! Now, let’s see your photos! Leave a comment below, or leave a link on the fan page under the link, or post it on the wall. If you’re copying straight from Facebook, please remember to copy the image location/URL and not just the link in the address bar. You can follow the progress of this project on Facebook, Twitter and Pinterest. Want to play with light in other ways? Photoelasticity lets you create amazing rainbow light effects with plastic objects you have around the house.
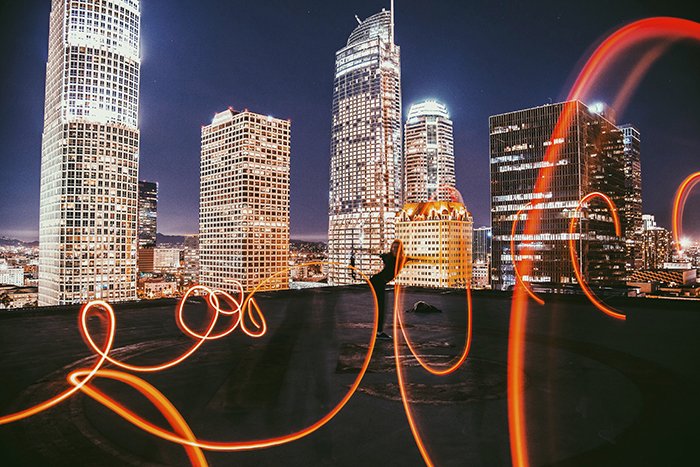
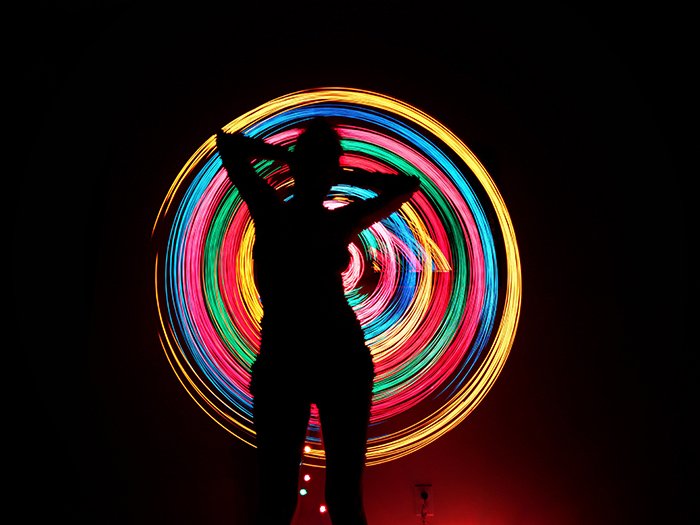
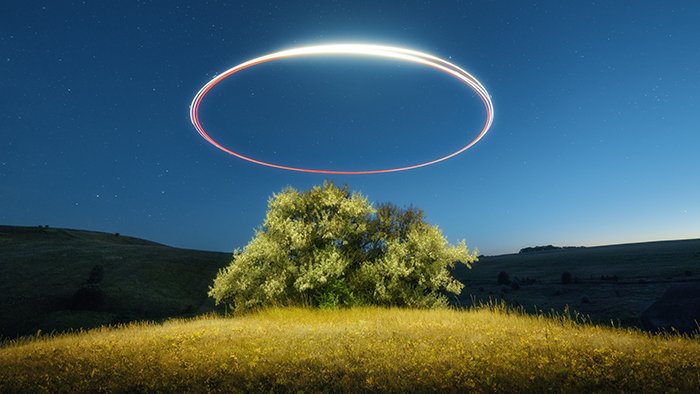
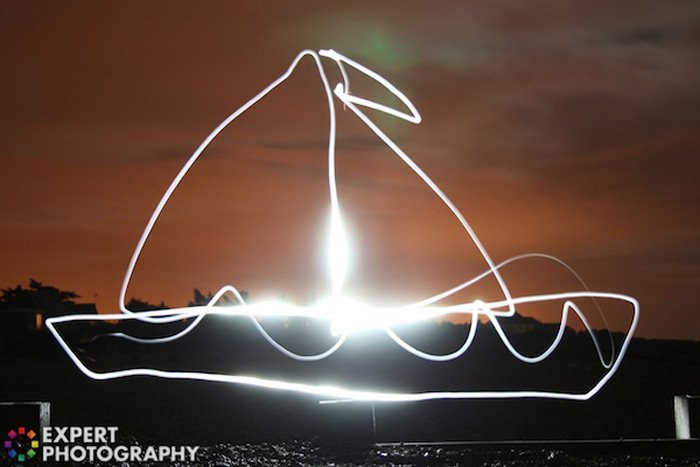
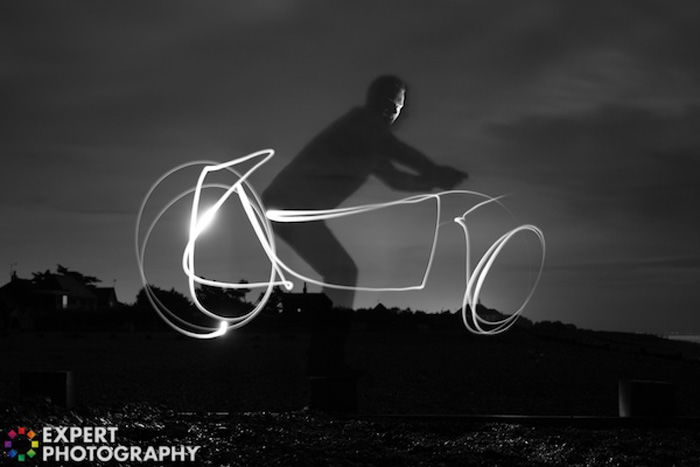
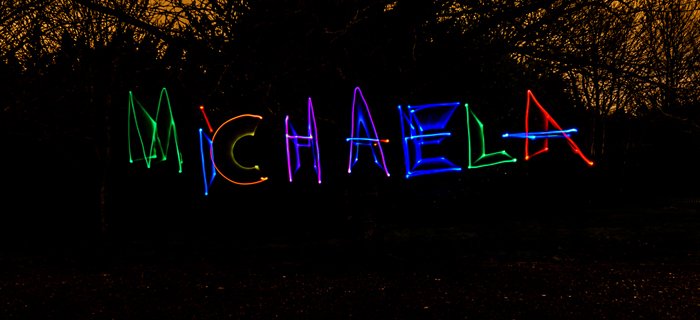
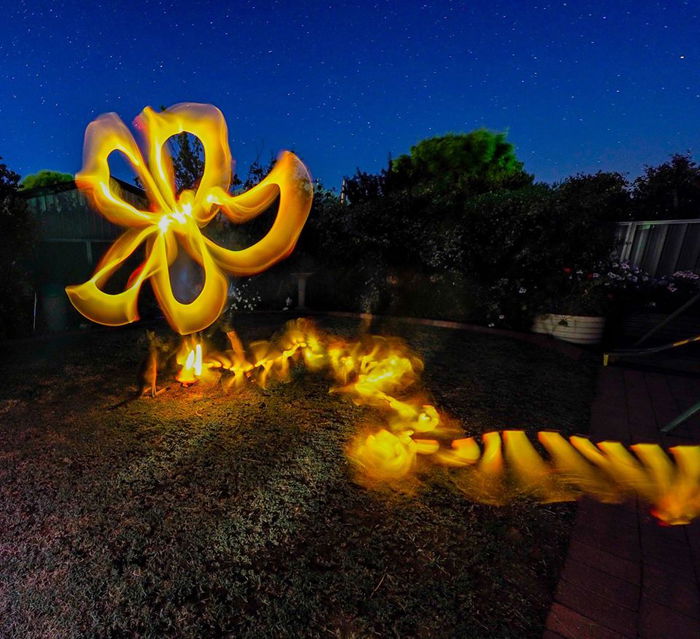
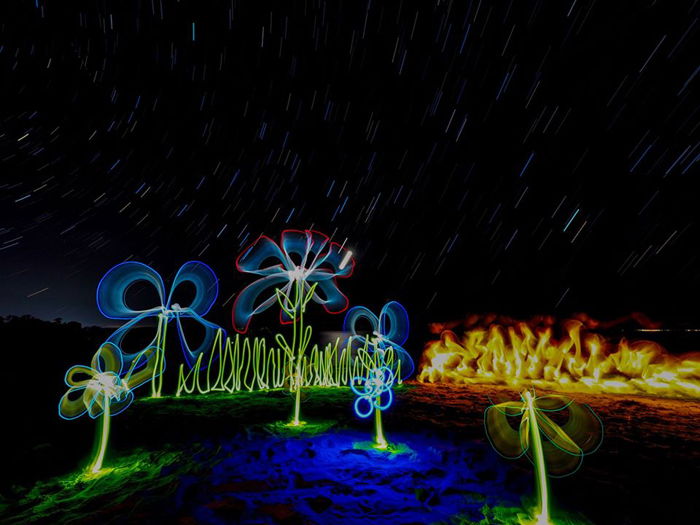
Examples of Light Graffiti Photography
Light graffiti photography is one of the topics we cover in our creative photography course, Wow Factor Photography. Below are some of the photos taken by our students. If you’d like to learn more, check out the course here.

title: “How To Create Impressive Light Graffiti Photography” ShowToc: true date: “2023-02-03” author: “Patrick Crosby”
[ExpertPhotography is supported by readers. Product links on ExpertPhotography are referral links. If you use one of these and buy something, we make a little bit of money. Need more info? See how it all works here.]
What Is Light Graffiti?
If you’ve read all about light painting, then you’ll have a good understanding of how this works. Basically, when you’re shooting in poor light, your camera’s sensor is a blank canvas. Just like light painting, you use your light source to paint/graffiti on where you want the camera to expose. To reach the desired result, you’ll have to shoot with a slow shutter speed and high f-number.
What You’ll Need
You don’t have to own the fanciest gear to perform this photography style. You’ll only have to use a sturdy tripod and a DSLR or Mirrorless camera. As an alternative, compact and bridge cameras can also work well if they are featuring a manual mode. If there’s no chance of shooting with a digital camera, just use your smartphone!
How To Create Light Graffiti
1. Select the Exposure Mode
First, you’re going to want to set your camera to Manual mode. This will allow you to make the most out of your shutter speed. Unlike on Auto mode, you can go all the way past 30 seconds on the dial, and you will reach Bulb mode. You can also try Shutter Priority mode but note that it has limitations. This means that the camera will expose for as long as you hold down the shutter. I recommend using a cable release or setting a timer for this. Whenever you’re painting with light, you’re dealing with long exposures. Your shutter speed will depend on how long you need to complete your painting. First, experiment with different shutter speed values. Then, you can try out different aperture and ISO settings. If you want to create a sense of depth, then you’re going to need to have a narrow aperture. This allows less light into the camera and will pose other problems for you. This results in longer exposures and a high ISO.
2. Pay Attention to the Depth of Field
DoF is vital to completing an excellent light graffiti photo. If the picture is out of focus, then it’s going to stand out like a sore thumb (for all the wrong reasons). Check out the photo below, it’s a cool photo, but it’s out of focus. Focusing in low light is quite hard, so I recommend two options. One, you can use manual focus. Two, you can shine a light on where you’re going to focus and use automatic mode. Then switch to manual focus so that it doesn’t adjust when you go to take the photo.
I’ve seen some amazing light painting photos. What they share in common is that these photos have an impressive depth of field and tack-sharp focus. When it’s a small and simple light source, the focal point not so obvious. But as you are getting more creative, you can start to tell. As you would all know by now, to produce a deeper depth of field you’re going to have to narrow your aperture when painting with light. This, in turn, will provide your camera with less light for your exposure, so bear that in mind. We recommend using an f/8 or higher f-number.
3. Choose a Light Source
My advice is: go crazy with this! I’ve used sparklers, torches, flashlights, fire, LED’s, even my phone. If it makes a light, then you can use it, and why not? I haven’t tried glow sticks yet, but they are perfect tools for creative light photography. They stay bright for ages, come in a variety of colors, are quite cheap too. If you’re using a torch, be careful not to shine this into the camera. Otherwise, the light source will start to appear uneven.
4. Play a Graffiti Game
I’m not that big on light graffiti, I prefer night photography, but one game I have played is a form of Pictionary. You get together with your friends and draw something with your light source. The rest of the group has to guess. It’s a fun and creative way to spend an evening.
Conclusion
Light graffiti is a great way to experiment with tagging without ruining others’ property. It is easy to perform as you’ll only need a sturdy tripod and a DSLR camera. You can easily turn your night photography game to a whole new level with this technique! Now, let’s see your photos! Leave a comment below, or leave a link on the fan page under the link, or post it on the wall. If you’re copying straight from Facebook, please remember to copy the image location/URL and not just the link in the address bar. You can follow the progress of this project on Facebook, Twitter and Pinterest. Want to play with light in other ways? Photoelasticity lets you create amazing rainbow light effects with plastic objects you have around the house.
Examples of Light Graffiti Photography
Light graffiti photography is one of the topics we cover in our creative photography course, Wow Factor Photography. Below are some of the photos taken by our students. If you’d like to learn more, check out the course here.
