What is a DIY Light Reflector?
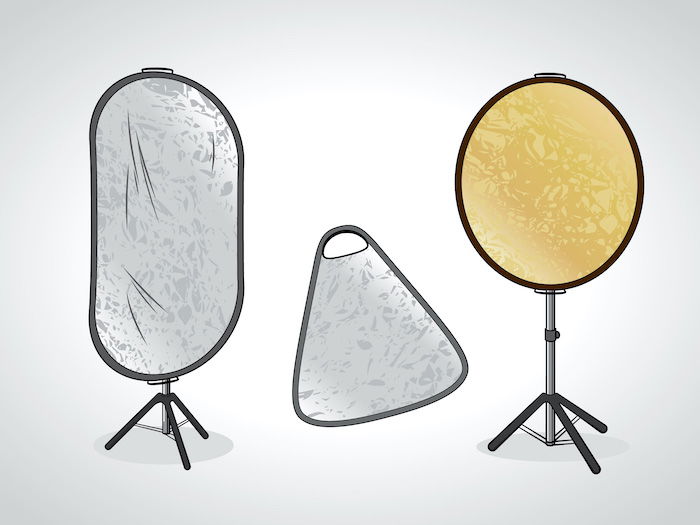
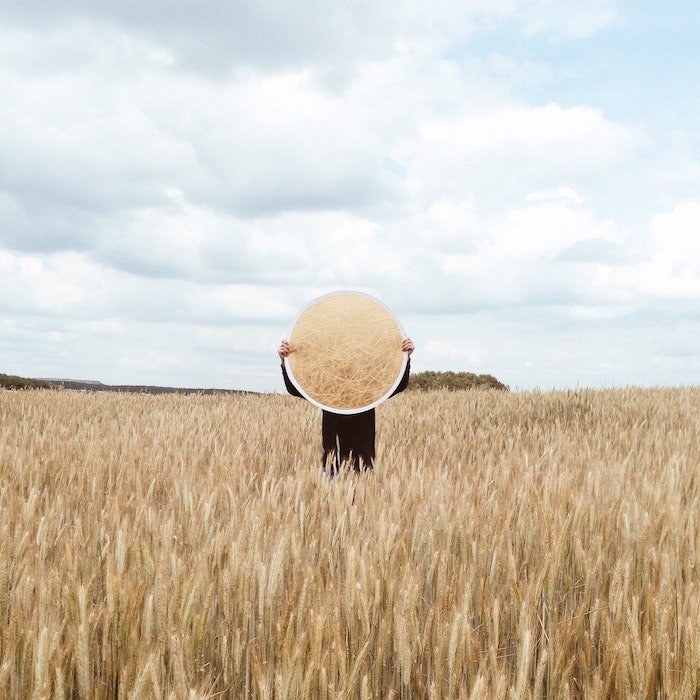
A reflector is a surface that can reflect light. Reflectors are such a simple piece of equipment, but they go a long way to improve your photos. Typically, reflectors add a bit more light into areas that are not in direct light themselves. This could be to fill some shadows with a touch of light. Or it could be to add a bit more spark to a subject that is not directly in the light.
Materials Needed
Foam-board, cardboard, or thick white card Tape Scissors Bulldog clips Aluminum or golden tin foil (optional)
Step 1: Decide on Reflector Material and Size
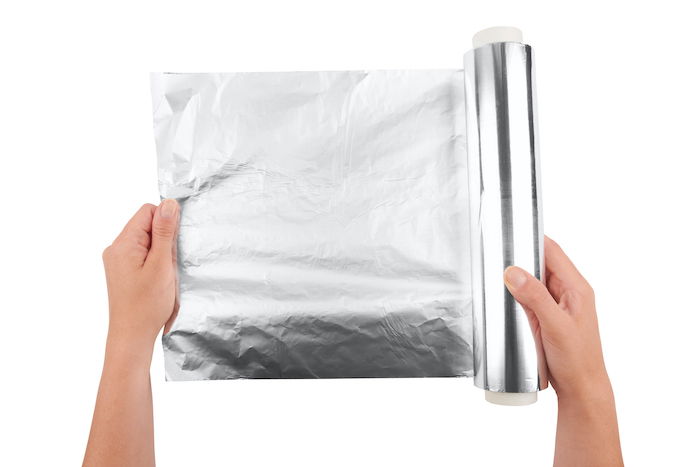
The choice of material depends on whether you want a soft, natural addition of DIY lighting or a more harsh one. If you want to fill shadows with natural light subtly, then use a white surface. Many DIY reflector instructions tell you to use aluminum foil as a reflector material. But I am not a big fan of this technique. Tinfoil can act as a mirror and directly bounce light. This can almost act like a new light source, which can be acceptable in dark circumstances. But it doesn’t add soft light. And remember, tin foil can crumple easily, and light will reflect in similar shapes to the way your foil lies on a surface. So be sure the foil likes flat. And use the diffused, dull side of the foil as well! Golden tin foil can be an excellent addition if you want your reflector to add a warm and unique light to your image. After choosing the material, decide on the size of your reflector. It can be a large handheld reflector or a card-sized one. The size depends on your subject and how much light you want to reflect. If you are a product photographer, you may want to make a few small ones.
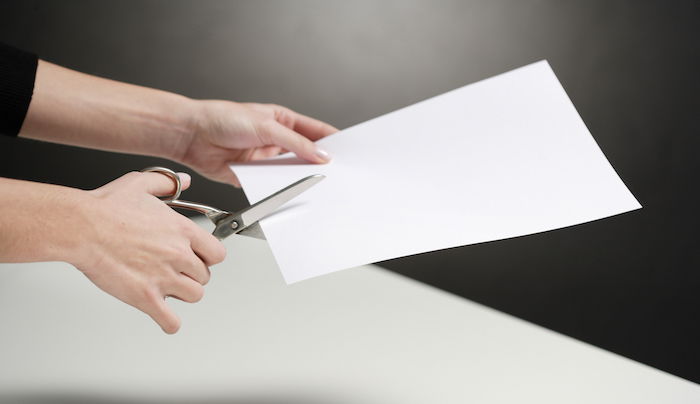
Step 2: Cut Out the Reflector and Add Paper or Foil
Now, cut your preferred size of reflector out of foam board or cardboard. Foam board is harder to come by. But it is perfect if you want a material that already has a brilliant white surface. If you are using cardboard, you can cut out white cards or paper to the same dimensions. Then tape it on. When you are taping aluminum foil, you want to wrap the foil around the card. This ensures a tighter fit. Use strong tape at the back to hold it in place.
Step 3: Set Up the Reflector Using Clips or a Tripod
Bulldog (binder) clips work wonders when dealing with smaller reflectors. Clip one on either end and use the handles as ‘legs’ to make them stand. This makes them easy to manoeuvre. If you have a bigger reflector and no assistant to hold them, you have to get a little more creative. You can tie the reflector to spare tripods (chairs or other objects) or prop them up to angle the light. When setting up your own reflector, keep an eye on what is happening to your subject. Spend a few minutes to try different angles. Remember, you want to place the reflector on the opposite side of the light.
Other Reflector Options
If you don’t have any of the materials listed above lying around to make a reflector, you can always use anything white! Bedsheets, a recipe card, or even just a notebook with white paper can be enough in some circumstances.
Conclusion
DIY reflectors are effective. They can be applied to any subject in the foreground, especially portraits. So get digging for materials and see if it works for you! Do you want to learn how to take joyful and creative pictures of your children? Check out our Dreamy Childhood Portraits e-book. Learn how to take impressive photos without expensive gear or even leaving your home! The images in this article were partly provided by DepositPhotos.